A noise rarely comes from where you hear it. The frame transmits vibration like a resonator. Professional diagnosis does not start by replacing parts; it starts by isolating variables until the sound is trapped in one assembly.
How do you find where a bicycle noise comes from? A noise rarely comes from where you hear it: the frame transmits vibration like a resonator. The method is diagnosis by elimination —isolate one variable at a time until the sound is trapped in a single assembly— starting from context: does it sound while pedaling (bottom bracket, cranks, chainrings, cassette), standing and rocking (seatpost, clamp, saddle rails, pivots), braking (rotors, calipers, axles) or turning the bar (headset, cables, hub bearings)? The most misread cause is blaming the bottom bracket when it's usually a loose chainring or bolt. If the creak comes from carbon or a dry sound appears under load, it may be structural damage and you should inspect it before riding on.
Identify the Noise Source
Define context first: only while pedaling, only while braking, only while standing and rocking the bike, or only on bumps. Then map the zone by action:
Pedaling under load: bottom bracket, cranks, pedals, chainrings, cassette, derailleur hanger, rear axle. Standing and rocking: seatpost, clamp, saddle rails, pivots. Braking: rotors, calipers, axles, headset. Turning the bar: headset, cables, front hub bearings.
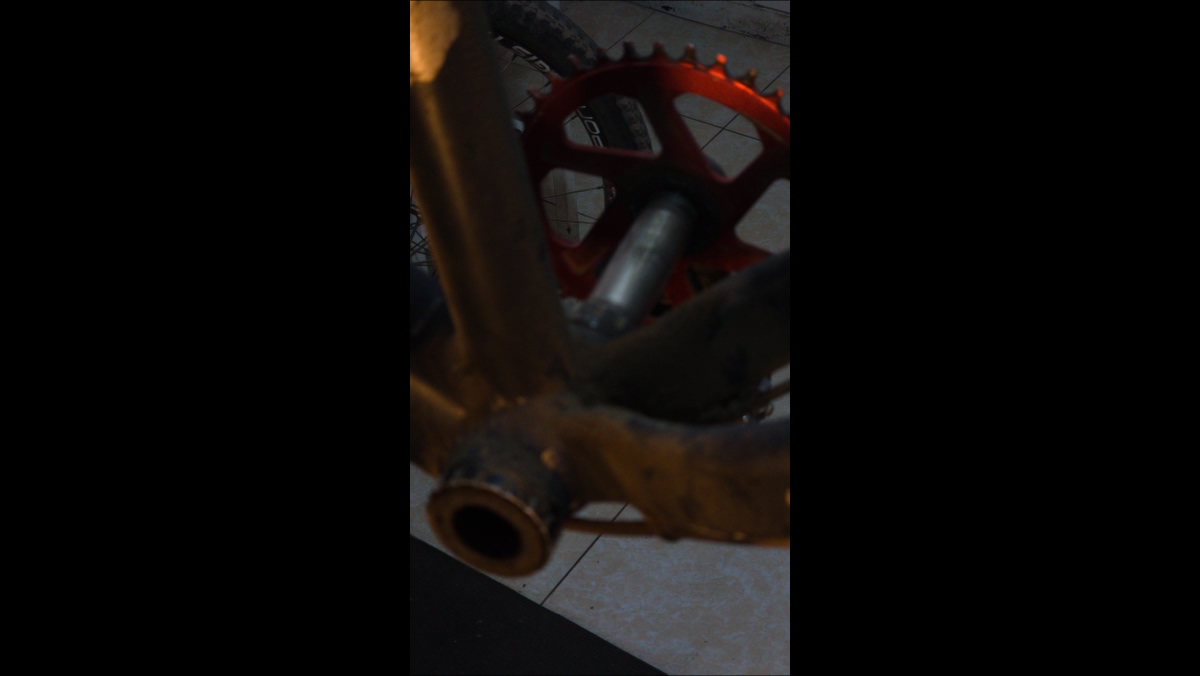
Bottom Bracket Noise vs Crank Noise
The common mistake is blaming the bottom bracket every time. Practical separation:
Bottom bracket: deep, repeatable creak under torque, changes with cadence and often worsens out of the saddle. It can also show up when rocking the bike side to side.
Cranks/pedals: a sharper click or localized creak that appears on one side. It changes if you swap pedals, change shoes/cleats, or pedal seated without rocking the bike.
Quick check: verify correct torque, then inspect interfaces (spindle–crank, spider–ring, pedal–crank) and clean/grease where appropriate. A loose chainring bolt can impersonate a “dead” bottom bracket.
Carbon Creaks
Carbon does not creak because it is carbon. It creaks because parts move against each other: seatpost–frame, stem–bar, spacers/caps, saddle rails, or micro-movement at an interface. Carbon assembly paste and correct torque usually solve it. If the noise changes with torque, it was an interface problem, not the material.
Internal Cable Rattle
With internal routing, a housing or cable can hit the inside of the frame on vibration. It sounds like a hollow rattle on bumps. Diagnosis: push the housing at entry/exit points, change the routing, or temporarily immobilize it with foam or internal guides. This is damping, not indexing.
Diagnosis by Elimination
1) Clean and torque-check critical points (axles, calipers, stem, seatpost, chainrings). 2) Change one variable at a time. 3) Reproduce in place: brake front wheel and rock (headset), brake rear wheel and rock (axle/dropouts), pedal with the rear wheel off the ground (drivetrain).
4) Swap components if possible: pedals, rear wheel, saddle/seatpost. 5) If the noise disappears, you have the zone. If not, go back to step 2. Speed does not help; control does.
When a Noise Signals Structural Damage
Red flags: a creak that appears suddenly after an impact, noise with a visible crack, delamination, paint lifting in a linear pattern, or a geometry change (wheel out of center, derailleur indexing changes overnight). Also: rapidly increasing play in the headset or bottom bracket area.
A constant noise is not always structural damage, but a fast-progressing noise plus play or marks demands inspection. Priority is safety, not “silence”.
Noise diagnosis is the first step before a professional tune-up or structural analysis.
[ SCIENTIFIC_BASIS_REPORT ] This procedure complies with structural integrity protocols documented in our Carbon Footprint Analysis.
Frequently Asked Questions
How do I find where a noise on my bike is coming from?
By diagnosis by elimination: the frame transmits vibration, so the noise almost never comes from where you hear it. Define the context (pedaling, standing, braking or turning the bar) and isolate one variable at a time —tighten, clean and grease by zones— until the sound is trapped in a single assembly.
Why does the bottom bracket creak… or is it not the bottom bracket?
The common mistake is always blaming the bottom bracket. It's often a loose chainring bolt, the pedals, the cassette or the seatpost, which mimic a dead bottom bracket. That's why you should rule out by action (pedaling vs rocking vs braking) before disassembling the bottom bracket.
What causes creaking in carbon frames?
It usually comes from dry or poorly torqued interfaces —seatpost, clamp, stem, bolts— rather than the laminate. But if the creak is dry and appears under load, it can indicate structural damage or delamination: that warrants an inspection before riding on.
When does a noise indicate structural damage and not just an adjustment?
When it's a dry sound that appears under load and doesn't go away after cleaning and tightening the interfaces, especially near the headset or bottom bracket on carbon frames, or if it comes with a visible crack or rapidly increasing play. That pattern warrants a structural inspection; the rest is usually solved with cleaning, grease and correct torque.